GUI Day 2

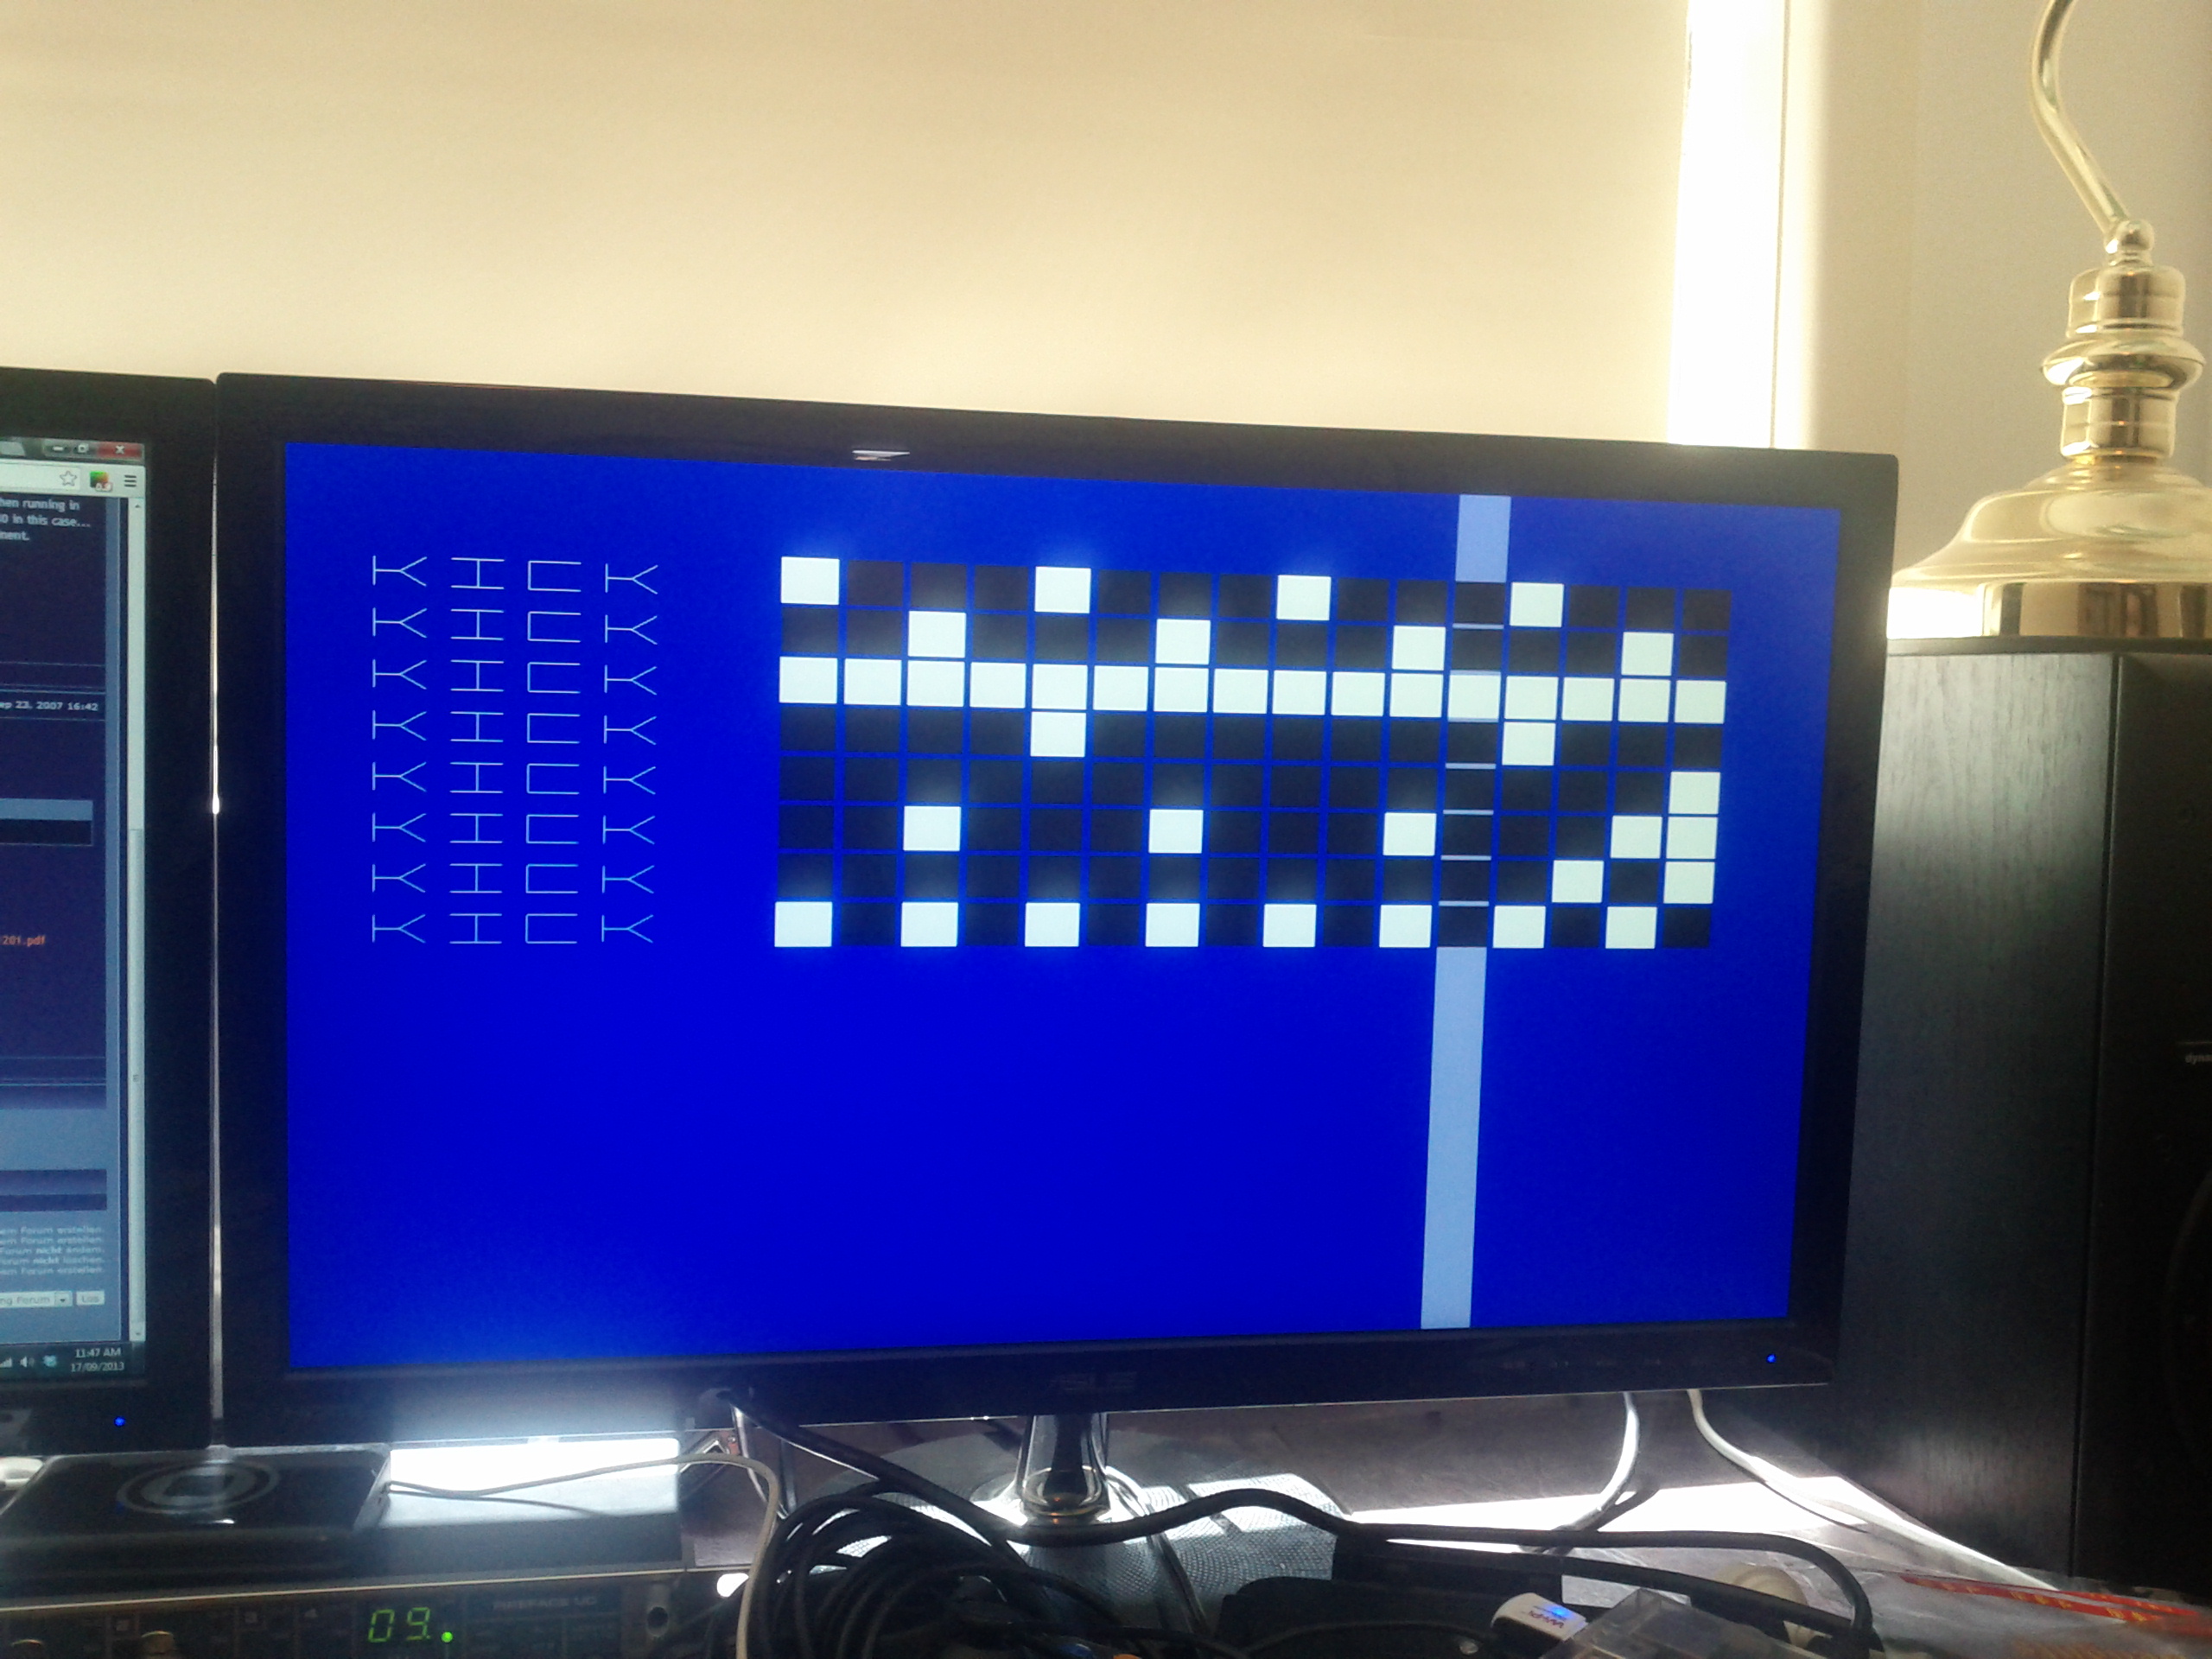
We’ve come a long way since the last vid. This first GUI demo showcases 8 tracks of sampled sounds and 1 of a synthesized sound being played back live by myself. Track mutes are not displayed on-screen yet but you will hear me switching things in and out, and can see when I re-program some of the channels.

Currently the interface supports only a USB keyboard for input, which while having a lot of buttons can be a bit awkward when setting events on a 16-step line, hence the key indicators above each step.


Work on the GUI

The core audio engine is (mostly) in place, it’s time to work on the graphical client. The client is written in C/OpenGLES and uses SDL to give interactive keyboard/mouse input. Here’s a sneak peak at work in progress-

Shot of the in-progress GUI

Shot of the in-progress GUI

Audio out

Hi again. So work on the project continues. Today I tackled the task of writing the default audio mixing and output engine. This current implementation uses ALSA to manage the audio device. This allows us to select between using the Pi’s onboard sound, or even using an attached USB soundcard for output. Since the Pi’s sound chip outputs at 11khz it has a fairly grungy sound to it. I kind of like it myself, but it’s obviously limited in application so allowing the user to bring their own soundcard alleviates that issue. But even at 11khz it could still be a great little noise box!

So today a short video showing the first test of the audio. I’m sending a square wave to the pi’s onboard sound, and for a little variety modulating the cycle time, and hence the pitch, of the wave.

Yes my desk usually is that messy.

building the piopi

pi0pi is a project to build a musical step-sequencer using the Raspberry Pi as a brain. Taking it’s name from musical instruments such as the Roland TB-303 and TR-808, it is also inspired by the x0xb0x (http://www.ladyada.net/make/x0xb0x/), an open-source, home-brewed synthesizer based on the TB-303.

The pi0pi intends to be a “hackable” piece of software: anyone with a Pi can put the software on it and start playing music, creating new software sound sources, or even re-writing the audio engine.

Here’s the first screen shot testing the display, just some text rendering.

hello_pi text

Hello pi!